spring是一款轻量化的组装框架,核心IOC,AOP,数据层(Mybatis),web集成(springmvc)。
spring核心之IOC容器:
IOC思想:
Inversion of Control控制反转
反转的是依赖对象的创建权力,由主动创建(比如new)变成了被动的依赖注入(DI)。
比如,我们在一个类中,需要使用到其他的对象,我们一般会这样做:
1
2
3
| public class Car {
private String name="tesla";
}
|
在上面的代码中,如果你想使用String类,那么你必在Car类中是手动创建一个。
这就是直接控制,控制反转在于,你不如不这样做,又想获得和使用这个对象,那么你就必须提供一个对外的接口来接受外部创建的对象。
控制反转——>seter注入(属性注入)
1
2
3
4
5
6
7
| public class Car {
private String name;
public void setName(String name) {
this.name = name;
}
}
|
控制反转——>构造器注入
1
2
3
4
5
6
7
| public class Car {
private String name;
public Car(String name) {
this.name = name;
}
}
|
我们通过封装的set方法来进行属性注入,或者通过有参构造函数来实现构造器注入。
这就是最简单,也是最常用的控制反转的依赖注入。
IOC容器:
spring提供了一个IOC容器,实现了IOC思想。IOC容器提供了,对象的创建(使用简单工厂模式和单例模式)、管理和组装。
使得程序之间各个对象的耦合性降低:
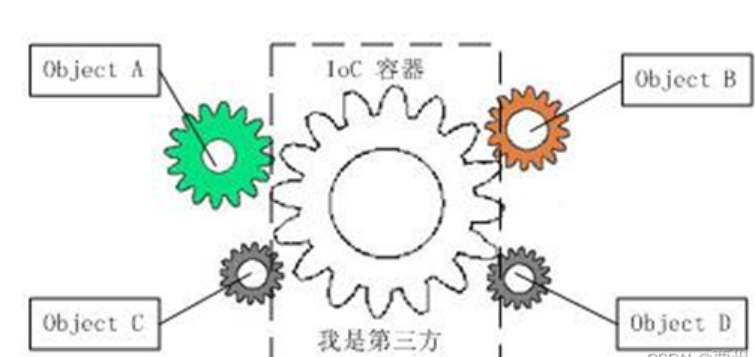
因为IOC容器底池是通过反射机制实现的,所以我们在创建对象和组装对象只需要在配置文件里面操作就可以了。
applicationContext.xml
只需要配置扫描的文件即可。
1
2
3
4
5
6
7
8
9
10
11
12
13
14
15
16
17
18
19
20
21
22
23
24
25
26
27
28
29
30
31
32
33
34
35
36
37
38
39
40
41
42
43
44
45
46
47
48
49
| <?xml version="1.0" encoding="UTF-8"?>
<beans xmlns="http://www.springframework.org/schema/beans"
xmlns:xsi="http://www.w3.org/2001/XMLSchema-instance"
xmlns:p="http://www.springframework.org/schema/p"
xmlns:context="http://www.springframework.org/schema/context"
xsi:schemaLocation="
http://www.springframework.org/schema/beans
http://www.springframework.org/schema/beans/spring-beans-4.3.xsd
http://www.springframework.org/schema/context
http://www.springframework.org/schema/context/spring-context-4.3.xsd">
<bean id="student" class="cn.k2502.Student">
<property name="age" value="26"></property>
<property name="name" value="陆小凤"></property>
<property name="xh" value="111"></property>
<property name="sex" value="女"></property>
<property name="address" ref="address"></property>
</bean>
<bean id="student1" class="cn.k2502.Student"
p:name="李白" p:age="20" p:sex="女" p:xh="001" p:address-ref="address">
</bean>
<bean id="student2" class="cn.k2502.Student">
<constructor-arg value="66"></constructor-arg>
<constructor-arg value="亚瑟"></constructor-arg>
<constructor-arg value="35"></constructor-arg>
<constructor-arg value="女"></constructor-arg>
<constructor-arg ref="address"></constructor-arg>
</bean>
<bean id="student3" class="cn.k2502.Student">
<constructor-arg name="address" ref="address"></constructor-arg>
<constructor-arg name="xh"><value>66</value></constructor-arg>
<constructor-arg name="name" value="亚瑟"></constructor-arg>
<constructor-arg name="age"><null></null></constructor-arg>
<constructor-arg name="sex" value="女"></constructor-arg>
</bean>
<bean id="address" class="cn.k2502.Address">
<property name="bh" value="66"></property>
<property name="address" value="唐古拉山"></property>
</bean>
</beans>
|
操作参数上面的代码即可。